
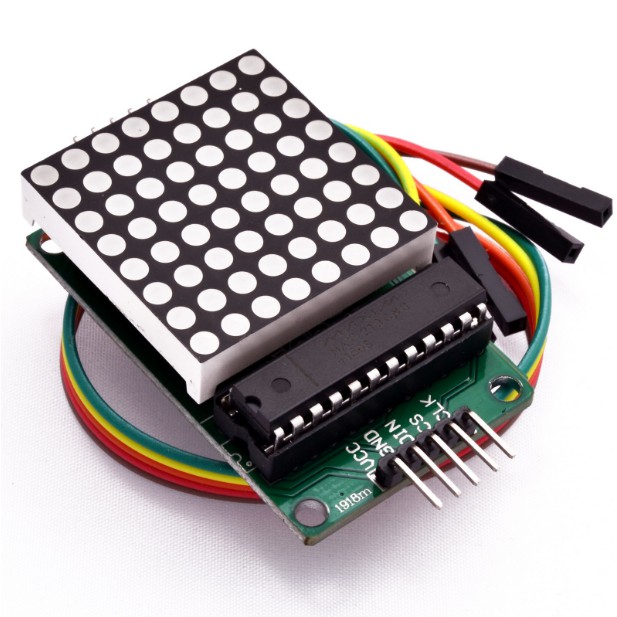
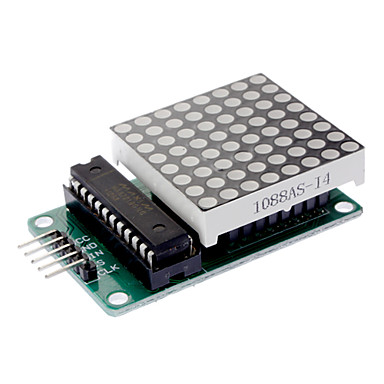
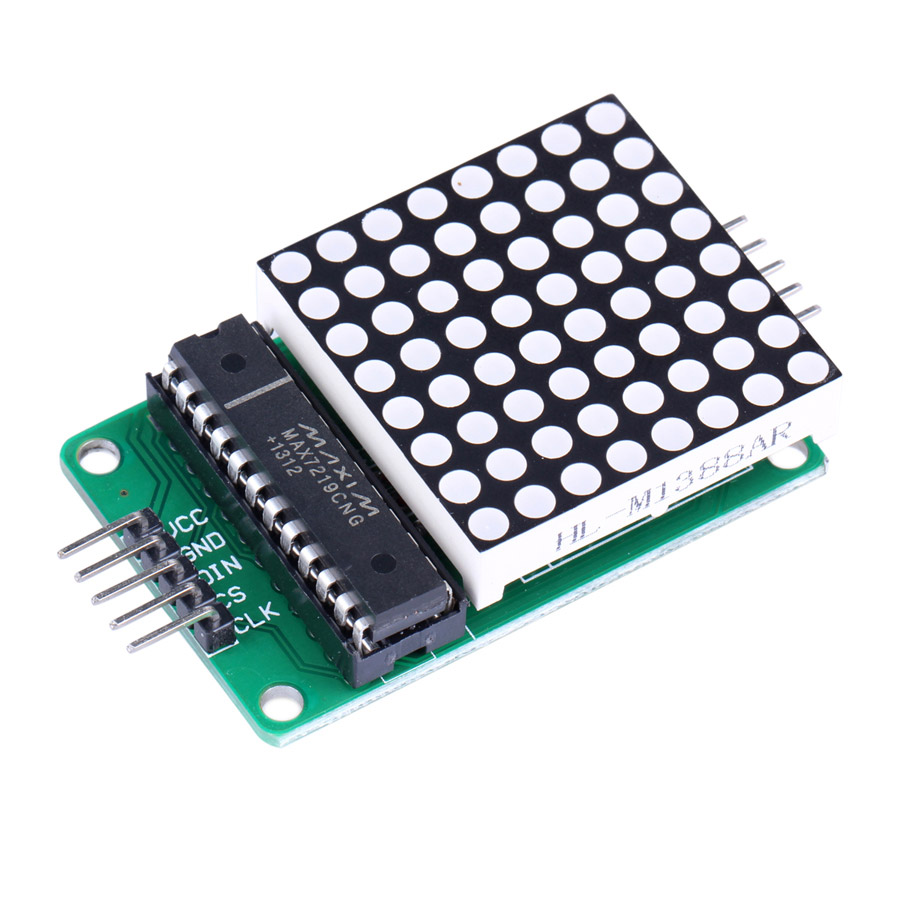
LED Matrix Driver MAX7219 IC Driver Module + LED Dot Matrix 8x8 ขนาด 40mm x 40mm พร้อมสายไฟ
| รหัสสินค้า | SKU-00647 |
| หมวดหมู่ | โมดูลจอ LED / OLED |
| ราคา | 100.00 บาท |
| สถานะสินค้า | พร้อมส่ง |
| ลงสินค้า | 20 ก.ย. 2565 |
| อัพเดทล่าสุด | 20 ก.ย. 2565 |
| คงเหลือ | ไม่จำกัด |
| จำนวน | ชิ้น |
หยิบลงตะกร้า

รายละเอียดสินค้า
LED Matrix Driver Module + LED Dot Matrix 8x8 ขนาด 40mm x 40mm พร้อมสายไฟ
โมดูล LED Dot Matrix 8x8 ดวง ขนาดจอ เส้นทะแยงมุม 40x40 มิลลิเมตร สามารถใช้งานเดี่ยว ๆ หรือนำมาเรียงต่อกันเพื่อทำไฟวิ่งแสดงข้อความได้ ใช่ง่าย มีตัวอย่างและโคดการใช้งาน
The kit includes the following components:
- MAX7219
- Electrolytic capacitor:10uF/25V
- Resistor:10K
- Capacitance:0.1uF
- Headers and receptacles.
Specification of LED Matrix:
- Operating Voltage: DC 4.7V – 5.3V
- Typical Voltage: 5V
- Operating Current: 320mA
- Max Operating Current: 2A
- Operating Temperature: 0 ℃ – 50 ℃
- Typical Temperature: 25 ℃
วิธีการต่ออุปกรณ์ สอนใช้งาน Arduino LED Matrix Driver MAX7219 แสงผลตัวเลข ตัวอักษร
Arduino -> LED Matrix Driver MAX7219
โหลด Library สอนใช้งาน Arduino LED Matrix Driver MAX7219 แสงผลตัวเลข ตัวอักษร
ให้ต่ออุปกรณ์ตามรูปข้างบน แล้ว อัพโหลดโค้ดด้านล่าง ลงบอร์ด Arduino
Arduino -> LED Matrix Driver MAX7219
- 5V -> Vcc
- GND -> GND
- ขา11 -> DIN
- ขา10 -> CS
- ขา13 -> CLK
โหลด Library สอนใช้งาน Arduino LED Matrix Driver MAX7219 แสงผลตัวเลข ตัวอักษร
ให้ต่ออุปกรณ์ตามรูปข้างบน แล้ว อัพโหลดโค้ดด้านล่าง ลงบอร์ด Arduino
1
// Demo of MAX7219_Dot_Matrix library - sideways scrolling
2
// Author: Nick Gammon
3
// Date: 2 October 2015
4
5
// Scrolls a pixel at a time.
6
7
#include <SPI.h>
8
#include <bitBangedSPI.h>
9
#include <MAX7219_Dot_Matrix.h>
10
const byte chips = 12;
11
12
// 12 chips (display modules), hardware SPI with load on D10
13
MAX7219_Dot_Matrix display (chips, 10); // Chips / LOAD
14
15
const char message [] = "www.myarduino.net 1234567890";
16
17
void setup ()
18
{
19
display.begin ();
20
} // end of setup
21
22
unsigned long lastMoved = 0;
23
unsigned long MOVE_INTERVAL = 20; // mS
24
int messageOffset;
25
26
void updateDisplay ()
27
{
28
display.sendSmooth (message, messageOffset);
29
30
// next time show one pixel onwards
31
if (messageOffset++ >= (int) (strlen (message) * 8))
32
messageOffset = - chips * 8;
33
} // end of updateDisplay
34
35
void loop ()
36
{
37
38
// update display if time is up
39
if (millis () - lastMoved >= MOVE_INTERVAL)
40
{
41
updateDisplay ();
42
lastMoved = millis ();
43
}
44
45
// do other stuff here
46
47
} // end of loop
เงื่อนไขอื่นๆ
วิธีการต่อใช้งาน Arduino LED Matrix MAX7219
Arduino -> LED Matrix MAX7219
- 5V-> VCC
- GND -> GND
- ขา 12 - DataIn
- pin 11 - CLK
- pin 10 - CS
โหลด Library LED Matrix MAX7219 ติดตั้งลง Arduino IDE
1
//We always have to include the library
2
#include "LedControl.h"
3
4
/*
5
Now we need a LedControl to work with.
6
***** These pin numbers will probably not work with your hardware *****
7
pin 12 is connected to the DataIn
8
pin 11 is connected to the CLK
9
pin 10 is connected to LOAD
10
We have only a single MAX72XX.
11
*/
12
LedControl lc=LedControl(12,11,10,1);
13
14
/* we always wait a bit between updates of the display */
15
unsigned long delaytime=100;
16
17
void setup() {
18
/*
19
The MAX72XX is in power-saving mode on startup,
20
we have to do a wakeup call
21
*/
22
lc.shutdown(0,false);
23
/* Set the brightness to a medium values */
24
lc.setIntensity(0,8);
25
/* and clear the display */
26
lc.clearDisplay(0);
27
}
28
29
/*
30
This method will display the characters for the
31
word "Arduino" one after the other on the matrix.
32
(you need at least 5x7 leds to see the whole chars)
33
*/
34
void writeArduinoOnMatrix() {
35
/* here is the data for the characters */
36
byte a[5]={B01111110,B10001000,B10001000,B10001000,B01111110};
37
byte r[5]={B00111110,B00010000,B00100000,B00100000,B00010000};
38
byte d[5]={B00011100,B00100010,B00100010,B00010010,B11111110};
39
byte u[5]={B00111100,B00000010,B00000010,B00000100,B00111110};
40
วิธีการชำระเงิน
ร้านค้านี้ยังไม่ได้กำหนดวิธีการชำระเงิน กรุณา ติดต่อกับทางร้าน เกี่ยวกับรายละเอียดในการชำระเงิน
ทางร้านยังไม่ได้ทำการเพิ่มบัญชีรับเงิน กรุณาติดต่อ เจ้าของร้าน
AFFILIATION

MEMBER

▲
▼
รายการสั่งซื้อของฉัน
รายการสั่งซื้อของฉัน
ข้อมูลร้านค้านี้

บ้านโค้ด-Bancode
จำหน่ายบอร์ดไมโครคอนโทรลเลอร์ Arduino,Module,Shield,Sensor,R,L,C,IC เเละอื่นๆ โทร.0624952525
เบอร์โทร : 0964188828
อีเมล : bancode.dev@gmail.com
อีเมล : bancode.dev@gmail.com
ส่งข้อความติดต่อร้าน
เกี่ยวกับร้านค้านี้
ค้นหาสินค้าในร้านนี้
ค้นหาสินค้า
สินค้าที่ดูล่าสุด
บันทึกเป็นร้านโปรด
Join เป็นสมาชิกร้าน
แชร์หน้านี้
แชร์หน้านี้
↑
TOP เลื่อนขึ้นบนสุด
TOP เลื่อนขึ้นบนสุด
สินค้าในตะกร้า ({{total_num}} รายการ)

ขออภัย ขณะนี้ยังไม่มีสินค้าในตะกร้า
ราคาสินค้าทั้งหมด
฿ {{price_format(total_price)}}
- ฿ {{price_format(discount.price)}}
ราคาสินค้าทั้งหมด
{{total_quantity}} ชิ้น
฿ {{price_format(after_product_price)}}
ราคาไม่รวมค่าจัดส่ง
➜ เลือกซื้อสินค้าเพิ่ม
พูดคุย-สอบถาม